I am just a hunter. I chase everything out there with some sort of handgun, and with that I have to utilize various different handguns depending on the task at hand. The vast majority of the time I use a revolver but on occasion I do pick up a single shot handgun chambered in a rifle cartridge.
My wife with her first mule deer. Taken with a Remington XP100 in 6.5-284 that I built. This deer was taken at 400 yards
Sometimes it’s just not possible to get within revolver distance of game or I need more power for the given target animal, that’s where the single shots come in.
With me being just a hunter I am looking for reliability, accuracy, and good terminal performance from my ammunition. Reliability and good terminal performance are pretty self explanatory, but accuracy can be that grey area that everyone measures differently. I’m generally trying to stalk within revolver range and just run out of cover and this often times leaves me with a 300 to 500 yard shot to make on game.
Mule deer taken with a T/C Contender 7-30 waters at 325 yards
To meet my personal accuracy standard I aim for ½ inch groups at 100 yards. If my ammunition, firearm, and me the shooter can maintain that group in ideal conditions it leaves me some wiggle room in the field.
Now I’d like to walk you through how I develop my loads as I just did this for the Cutting Edge Bullets 6.5 120 grain MTH. This load work up would be exactly the same if it was for a rifle. I keep my reloading fairly simple and have been able to produce ammunition that meets or exceeds my goals for years.
The first thing I do is gather all of my components and tools.
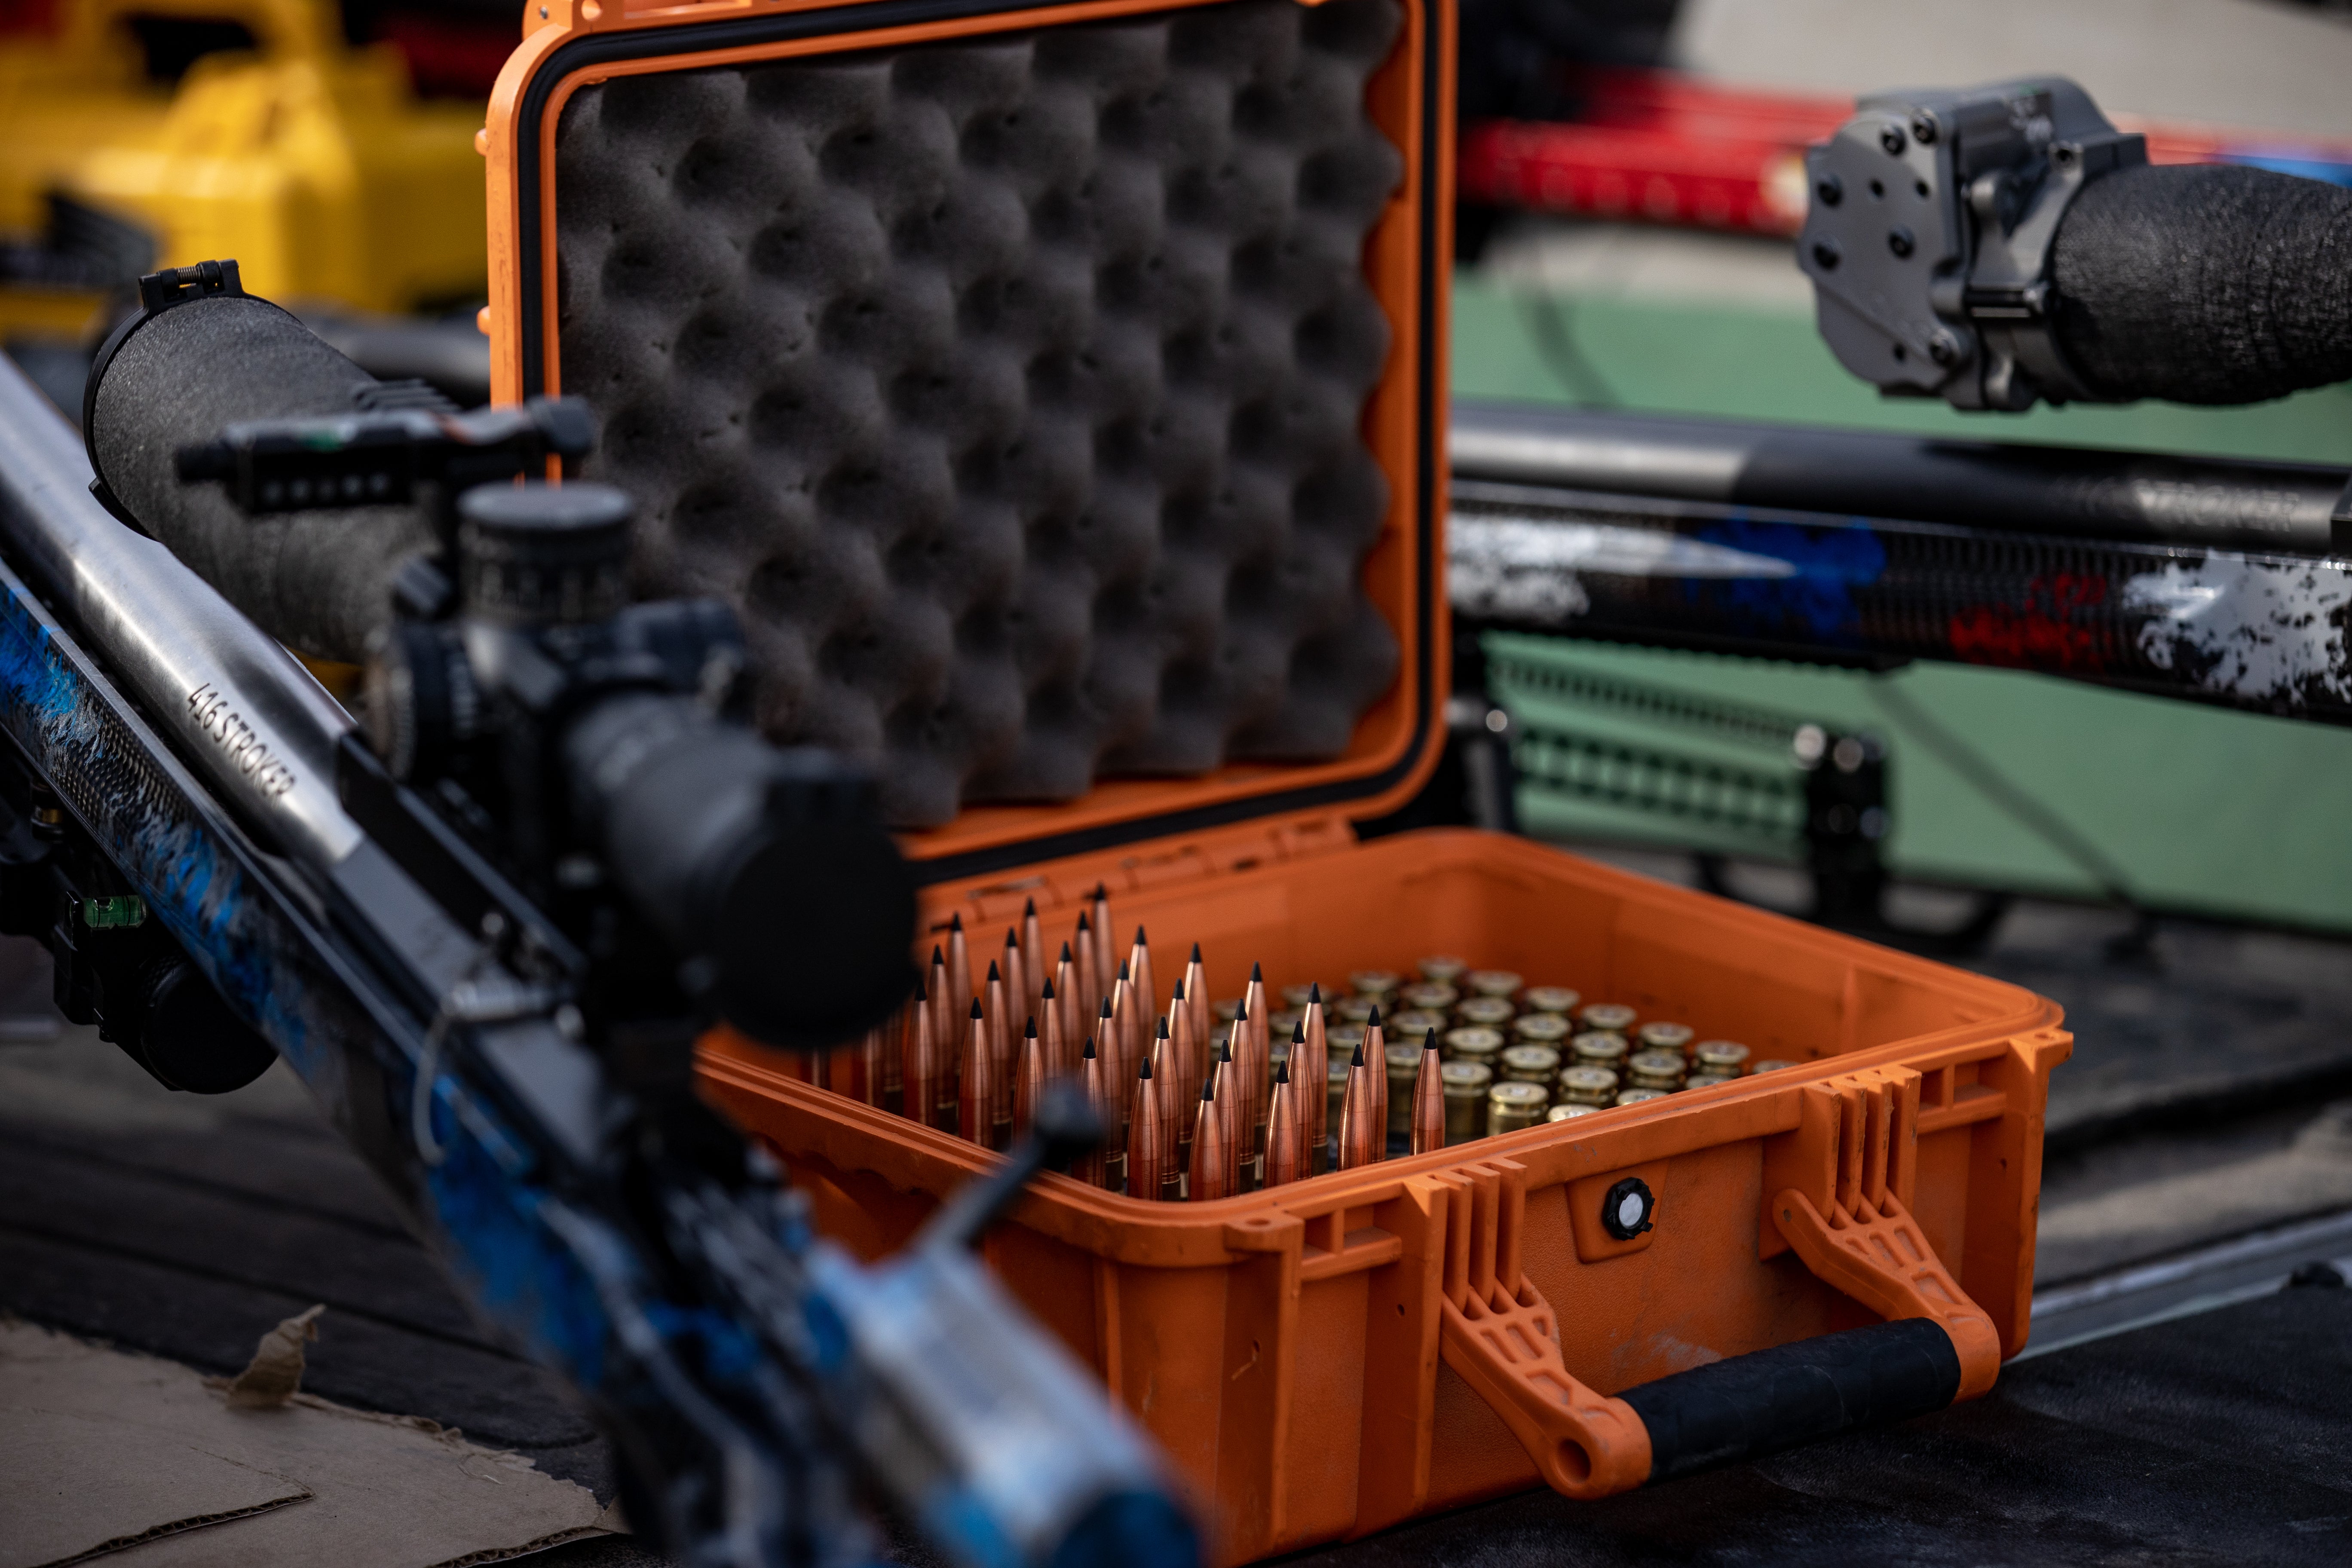
For my hunting ammunition I like to use top quality brass. I also prefer that brass to have no more than 3 firings on it. Peterson fits the bill here and is the foundation of my ammunition. Skimping on the brass or trying to stretch the lifespan out can lead to lackluster results. I will also be using Winchester primers, Hodgdon H4831SC, and of course CEB 6.5 120 MTH bullets. For my tools I’ll use a RCBS Rock Chucker, Hornady dies, RCBS hand primer, calipers, a Lyman VLD deburring tool, and a Hornady powder measure.
My next step is to inspect my brass and make sure that the necks are not dented or deformed in any way since I am going to load virgin brass in this case. If it was used brass I would first full length resize the case with a .002 shoulder bump so that the bolt will close smoothly on the case and then clean off any lube residue. I will then proceed to deburr and chamfer the inside of the case mouth. This makes seating the bullet easier and prevents the bullet from getting “shaved” by the sharp edges of the case.
Up next is determining bullet seating depth. This should be established before powder charge since changing seating depth will change pressures. With reliability being a primary concern for me I will want some bullet jump before the projectile engages the rifling. This will keep the bullet from possibly getting stuck in the rifling and pulling out should I have to unchamber a loaded round while hunting. That can completely ruin a hunt! Over the years I have found .03 to .05 bullet jump to be my preferred range. This keeps me far enough from the rifling to prevent the bullet from sticking, feeds in most magazines (if needed), and leaves me room to tune for accuracy as needed.
There are all kinds of special tools on the market to measure the distance that the bullet protrudes from the case and then engages the rifling. Here I choose to do it by a simpler means. I remove my firing pin assembly and ejector from my bolt. I will then take a bullet and a case that has not been primed or charged, start the bullet in the case with the seating die, and then attempt to chamber the round. I will continue seating the bullet deeper until I am able to close the bolt without any added resistance. That resistance is caused by the bullet engaging the rifling. Now I have found the maximum possible length of my completed cartridge. I will then seat the bullet deeper to allow the bullet to have some jump to the rifling. For this load I seated my bullet .05 deeper than the maximum overall cartridge length found using the above method. If you desire to feed from a magazine you will have to take that into account here and use your dummy round to ensure it will feed properly.
Next I prime my cases. Using a hand priming tool I can feel the primer make firm contact with the bottom of the primer pocket. 
Now we get into the big experimental part. How do we decide on a powder charge or powder type? For the powder selection I want to select a powder that will allow me to fill the case to where there is minimal room between the powder and the base of the bullet. Generally this means that you want the powder charge to fill the case to at least the case body/shoulder junction and at a maximum of the neck/shoulder junction. Overly compressed charges generally do not produce the best accuracy and likewise with under filled cases where the powder can shift too much. You will need to look at a good reloading manual for your particular cartridge to help you narrow down powders that will provide a desirable case fill level.
So now we have decided on a seating depth to start with, prepped and primed our cases, and selected a powder. It’s time to start charging cases and testing.
There are various methods of load testing out there. For my method I am trying to narrow down the powder charge weight range that produces optimal velocity. While doing so I am trying to reduce the consumption of components.
For my particular Remington Xp100 load test I started with a charge of 50 grains and went all the way up to 54 in .5 of a grain increments. I just charged 1 case at each increment. 
I then proceeded to seat my bullets. To minimize bullet run out I do this in three steps. I seat the bullet ⅓ of the way, spin the case ⅓, seat the bullet ⅔ of the way, spin the case ⅓, and then finish seating the bullet.
Now for the fun part! Off to the range! 
At the range with these test loads I am just trying to identify where the velocity gains “pause” as powder charge is increased. You will need a chronograph for this. The velocity “pause” or lack of gain will be able to be seen when the velocities show little or no gain as the powder charge increases. I found the beginning of the velocity “pause” to be at 51.5 grains. I took this data and went back to the loading bench. 
Back at the reloading bench I then went down .5 a grain from the velocity “pause” I discovered with my test loads and primed, charged, and seated bullets in groups of three working up in .3 increments to 52 grains. I also loaded three at the identified velocity “pause” of 51.5 grains.
Now back for some more fun at the range. This time I set a target up at 100 yards. I set my chrono up and took my time to make sure every shot was perfect.
After each 3 shot string I would give the gun ample time to cool down and I would record my notes on velocity and accuracy. This is purely a hunting gun and not a target firearm and I have to keep that in account on my accuracy. My optic is a 1-5 VX-5 Leupold with a heavy duplex that obscures a lot of the target but is absolutely superb in the field. On this range trip I found a charge of 51.5 to have a velocity deviation of just 5 feet per second and to produce a ½ inch group. My velocity average was 2719 feet per second. Once again, I’m just a hunter, and I found this load to meet my goals.
If I would have needed to still adjust my load after this range trip I would have done some very small seating depth adjustments next. If that didn’t work I would possibly look at other powders.
More often times than not the simple steps above have produced accurate and reliable loads for my hunting purposes. The method above also uses up very few components in load development leaving more for practice on the range to get you ready for that hunt of a lifetime!

Chris Rhodes
CEB Pro Staff
Founder of Handgun Hunting Afield


